Is your chain skipping gears or falling off your rear cassette? Have you ever tried adjusting your rear derailleur on your bike?
– Adjusting your rear derailleur can be a scary process if you don’t know what you are doing. It was scary for me until I tried.
– This article provides a super simple step by step guide that will encourage you while adjusting your rear derailleur. I wrote this article for first-timers like me. It is way easier than you think.
– You just need a little patience. And the end result will be more money in your pocket and a little sense of self reliance and accomplishment!
Things You Will Need to Get Started Adjusting Rear Derailleur
- Allen Wrench (or a larger phillips/standard screwdriver depending on your bike)
- Small Phillips Screwdriver (for the H and L Limit Screws and B-Tension screw)
- Bike Stand – You will need something that secures your bike from falling over and allows your rear wheel to move without touching the ground. I often use my indoor bike trainer for minor adjustments like this.
- Patience – No bike is exactly the same, so if you get frustrated, take a break and keep going! I think you will be happy when you master it.
If your components are in good working order, a few minor adjustments will allow your rear derailleur to make smooth transitions between gears/sprockets. And, this will help keep your chain from falling off.
Adjusting the rear derailleur one time should last you a few months to a year depending on how much you ride. Here we go!
Disconnect the Gear Cable
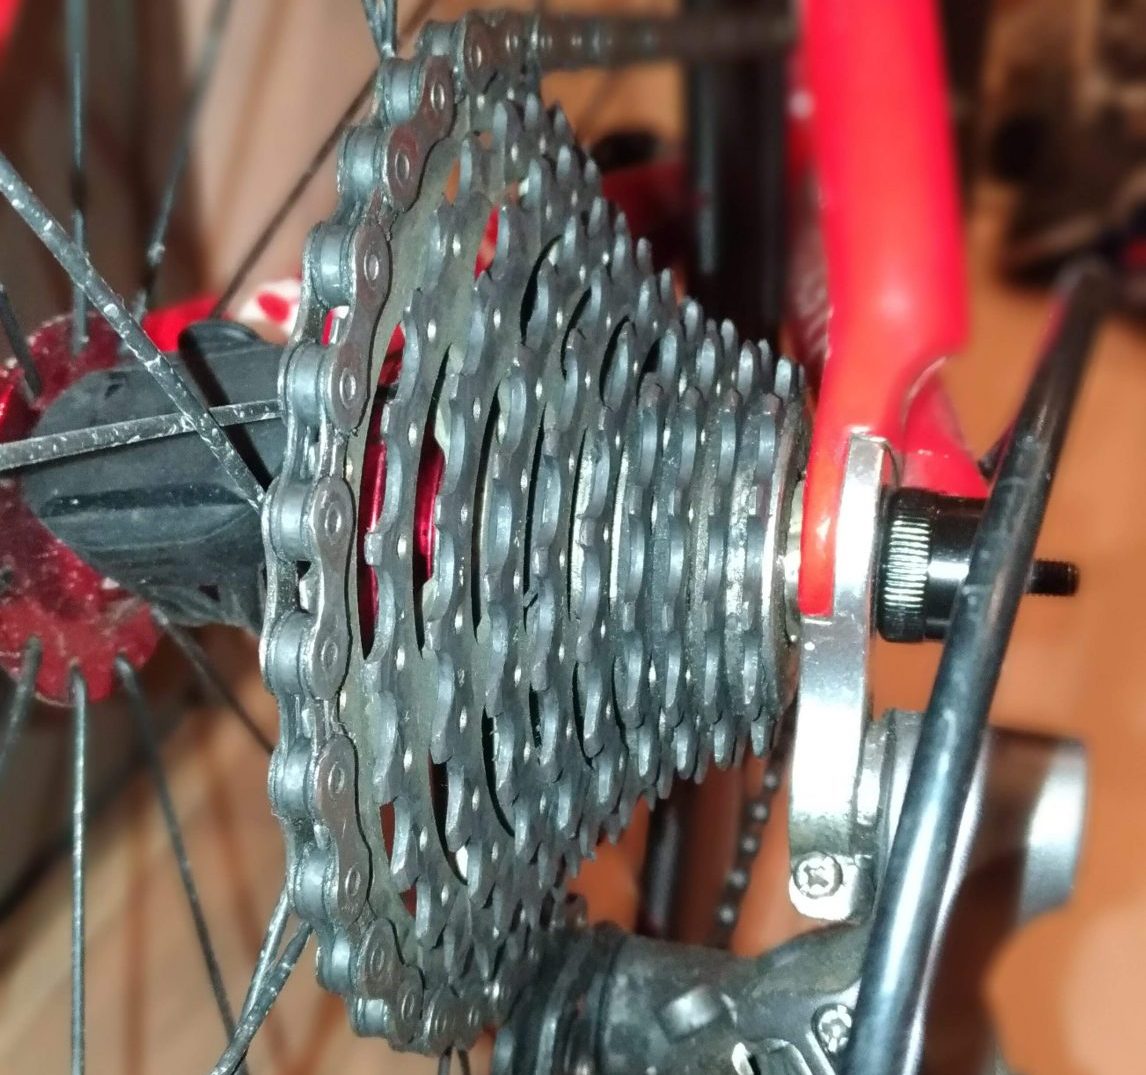
SHIFT TO THE SMALLEST RING
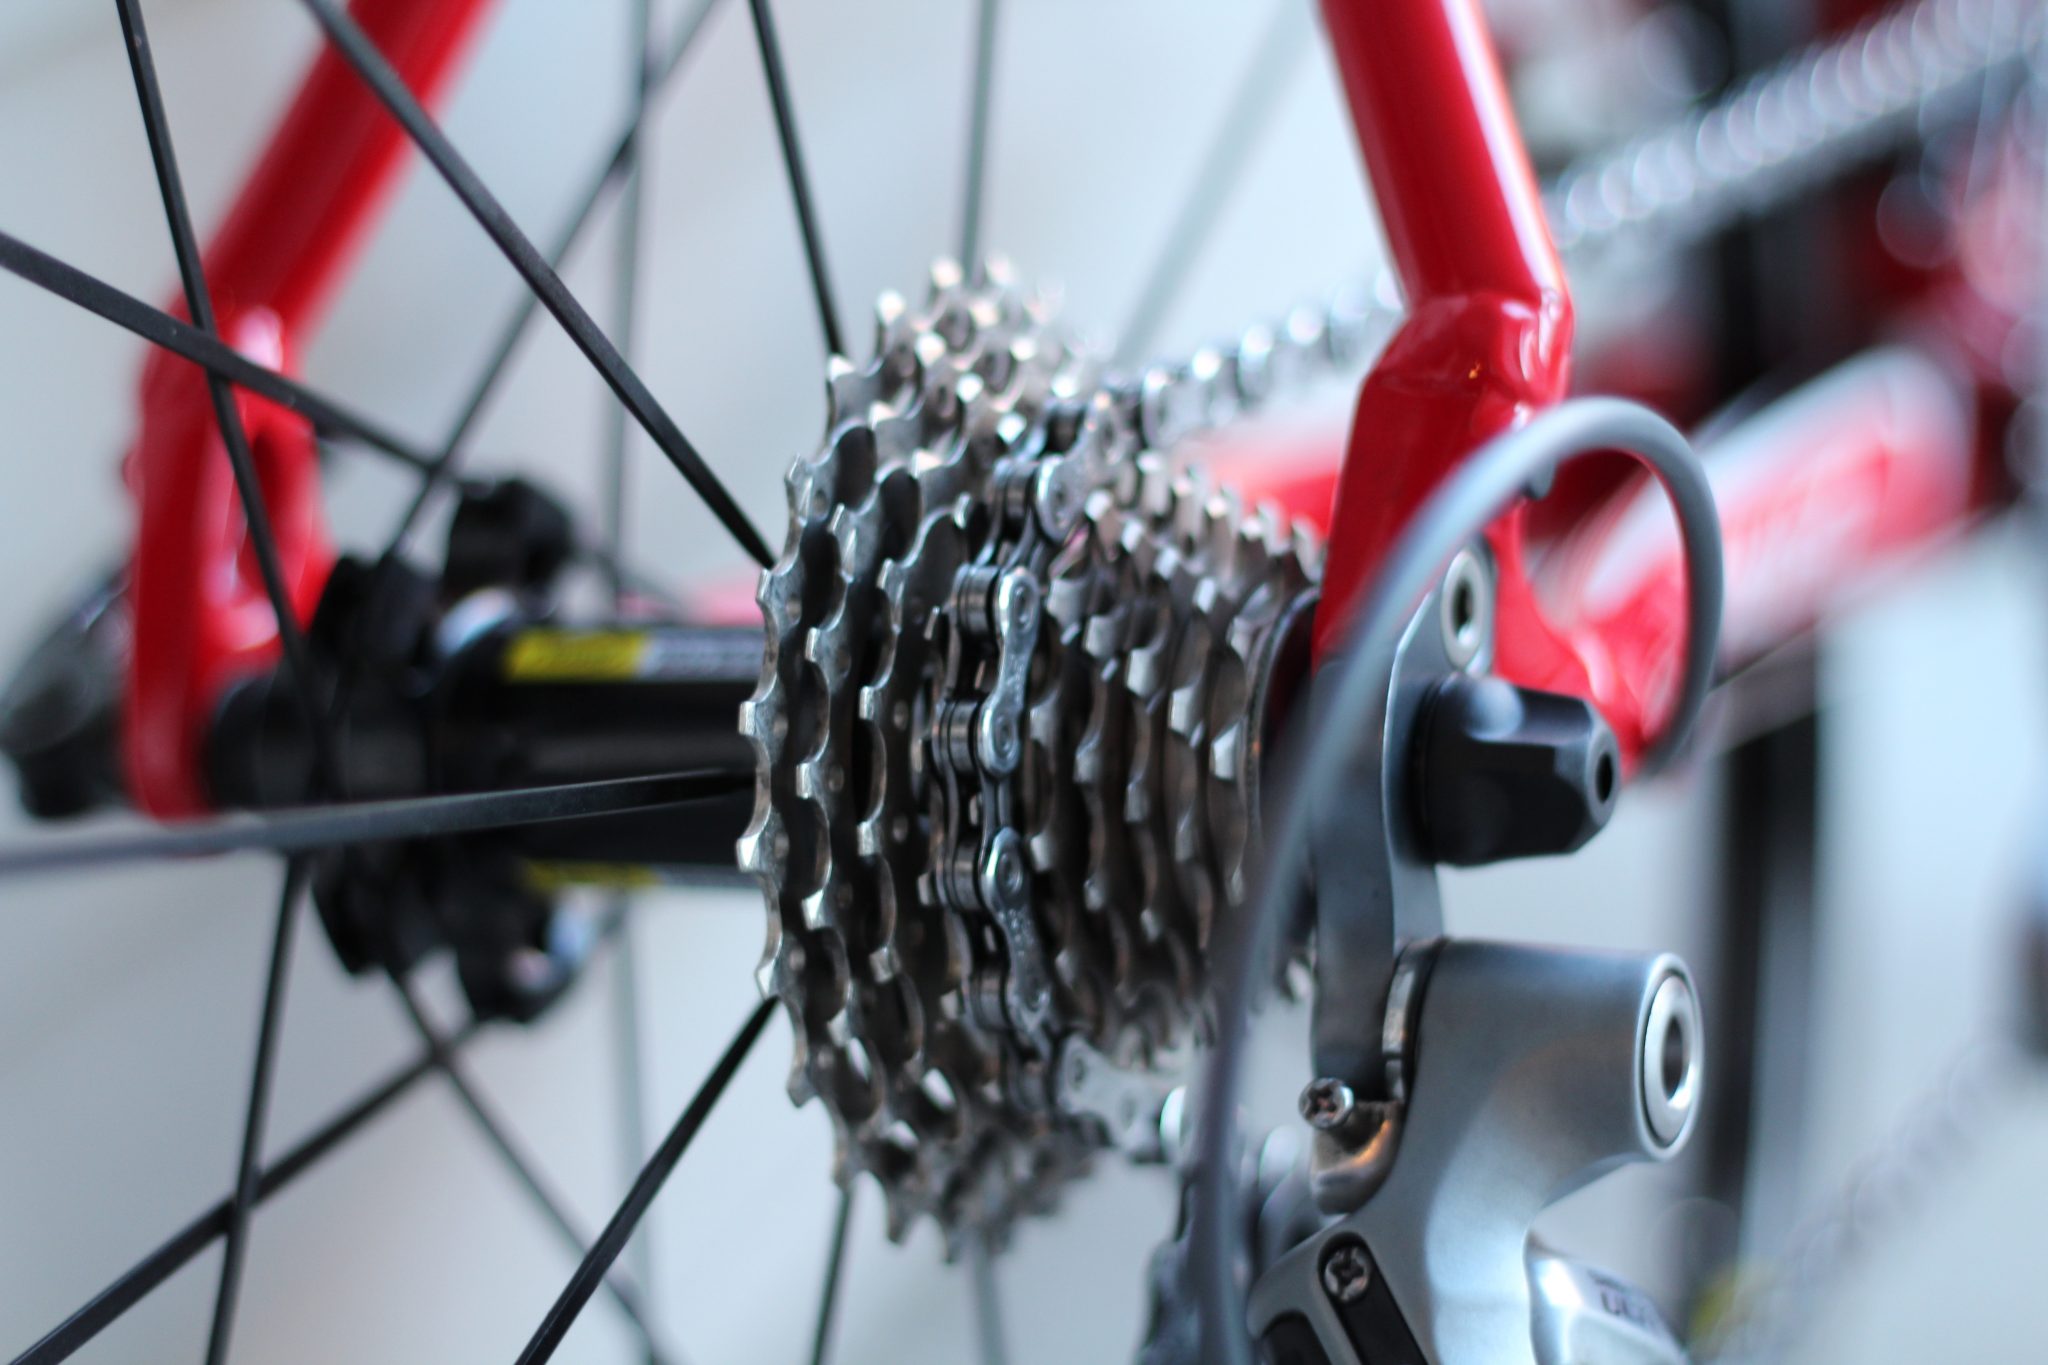
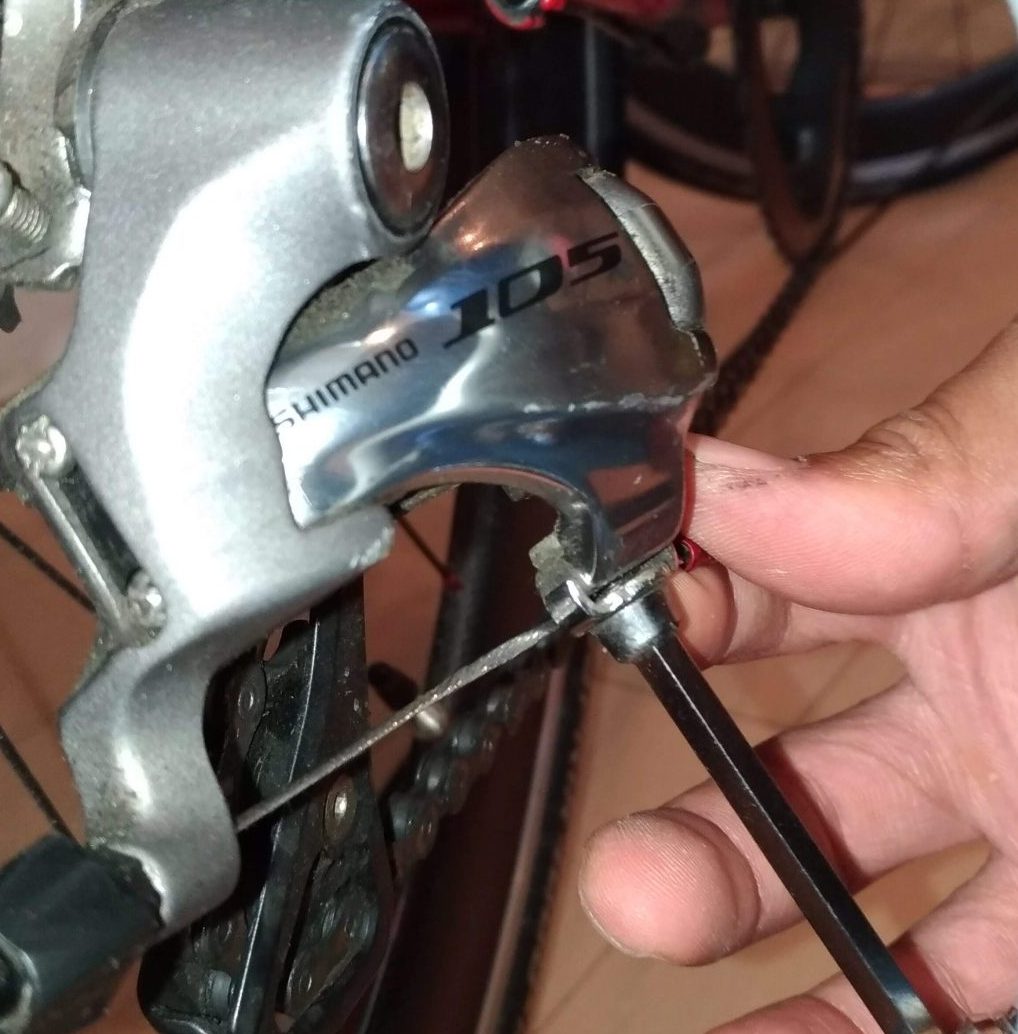
To start adjusting your rear derailleur, use your rear gear shifter on your handlebars to shift your chain to the smallest ring or sprocket on your rear gear cassette. (I am using Shimano 105 groupset for this demonstration.) If your shifter won’t allow you to go the smallest ring, shift until you are at the smallest ring it will allow you to go to.
IDENTIFYING THE GEAR CABLE
The gear cable is the metal wiring that is covered by a little black hose or housing. This cable goes all the way from your shifters on the handle bars to the rear derailleur. When you shift your gears, this cable pulls on the rear derailleur so that your chain can move from one gear to the next.
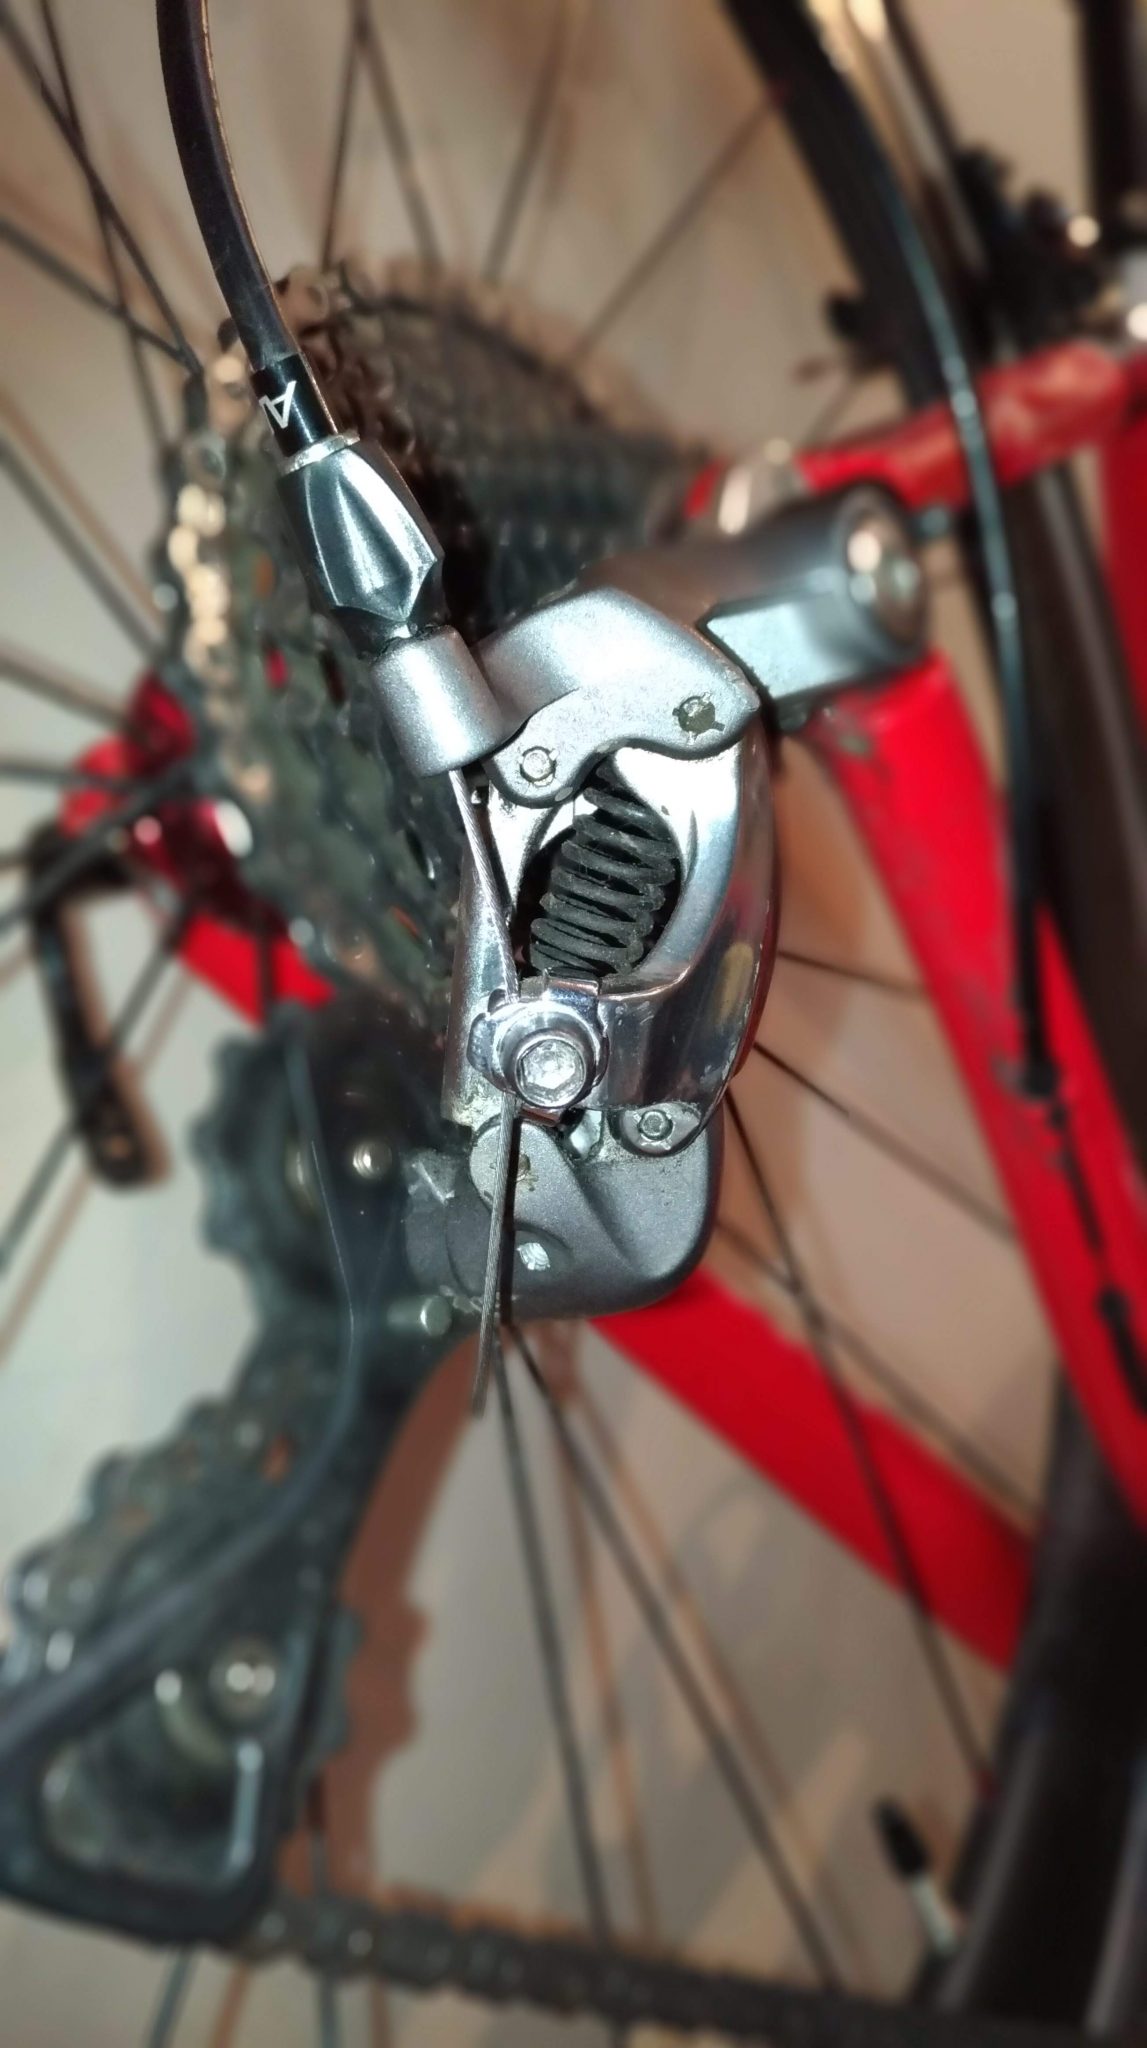
Where the the cable connects to the rear derailleur is a hex bolt that clamps down the metal gear cable so that it stays in place. (Sometimes the bolt is a phillips head or standard. Follow these same steps with a phillips head or standard screwdriver in that case) This bolt is called the “cable anchor bolt”. You will need to use a matching sized allen key/wrench to loosen this bolt.
LOOSEN THE CABLE ANCHOR BOLT
If you are facing the bolt and looking inside the hexagonal bolt head, you will turn the allen key counter-clockwise. If you are not facing the bolt or the bolt is facing downward you will turn the allen key/wrench clockwise.
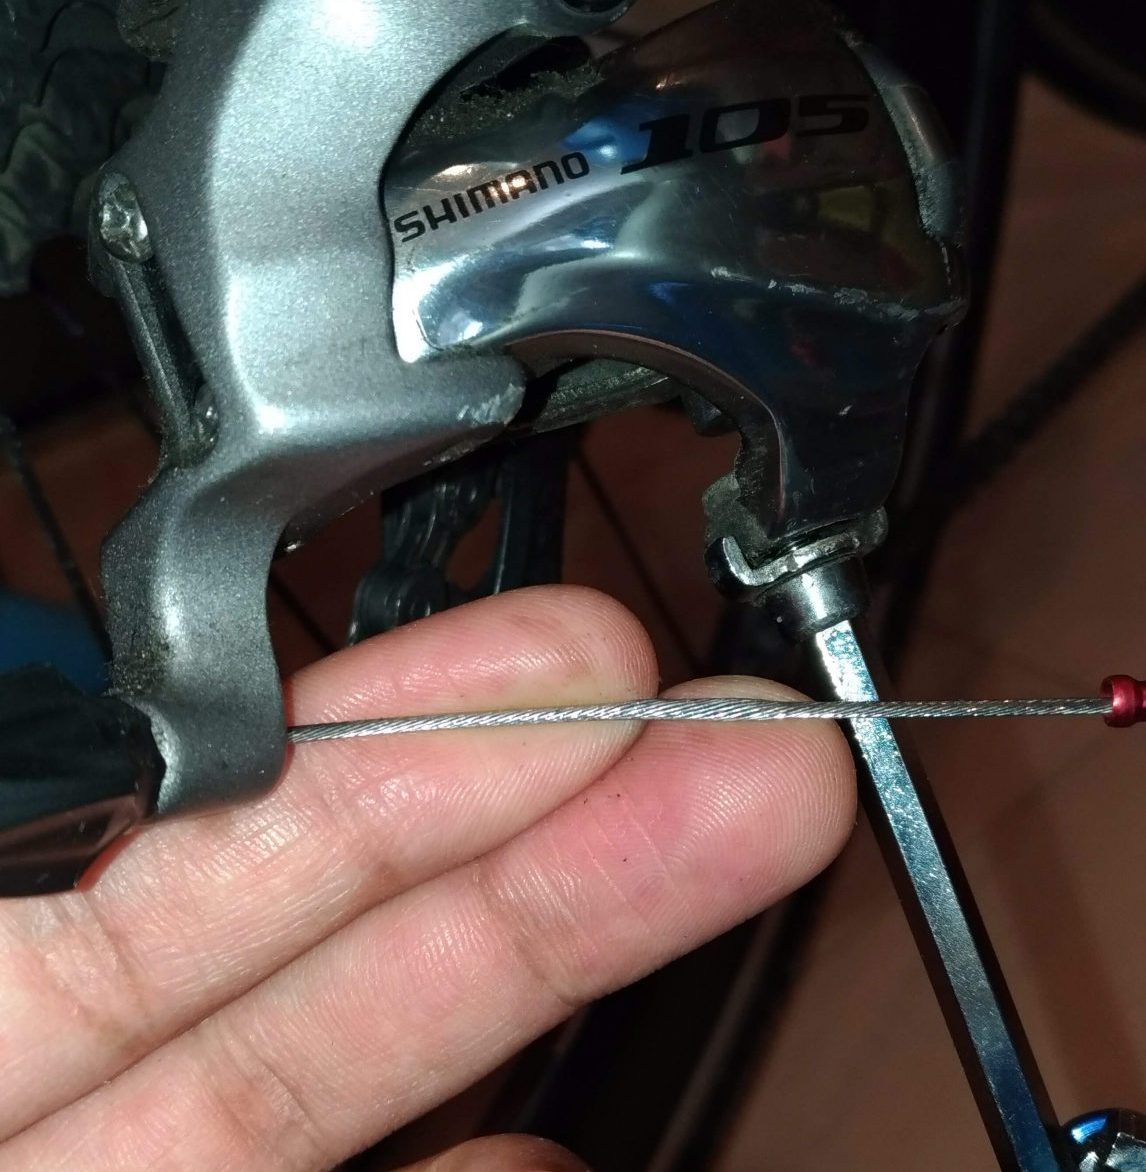
After the bolt is slightly loosened, you will feel that the cable begin to wiggle a little. Sometimes, the gear cable will spring out due to the quick release of tension.
Whether it springs out or you move it out from between the bolt and the derailleur, be sure that the bolt is free from the derailleur.
Peddle Forward While Adjusting Rear Derailleur
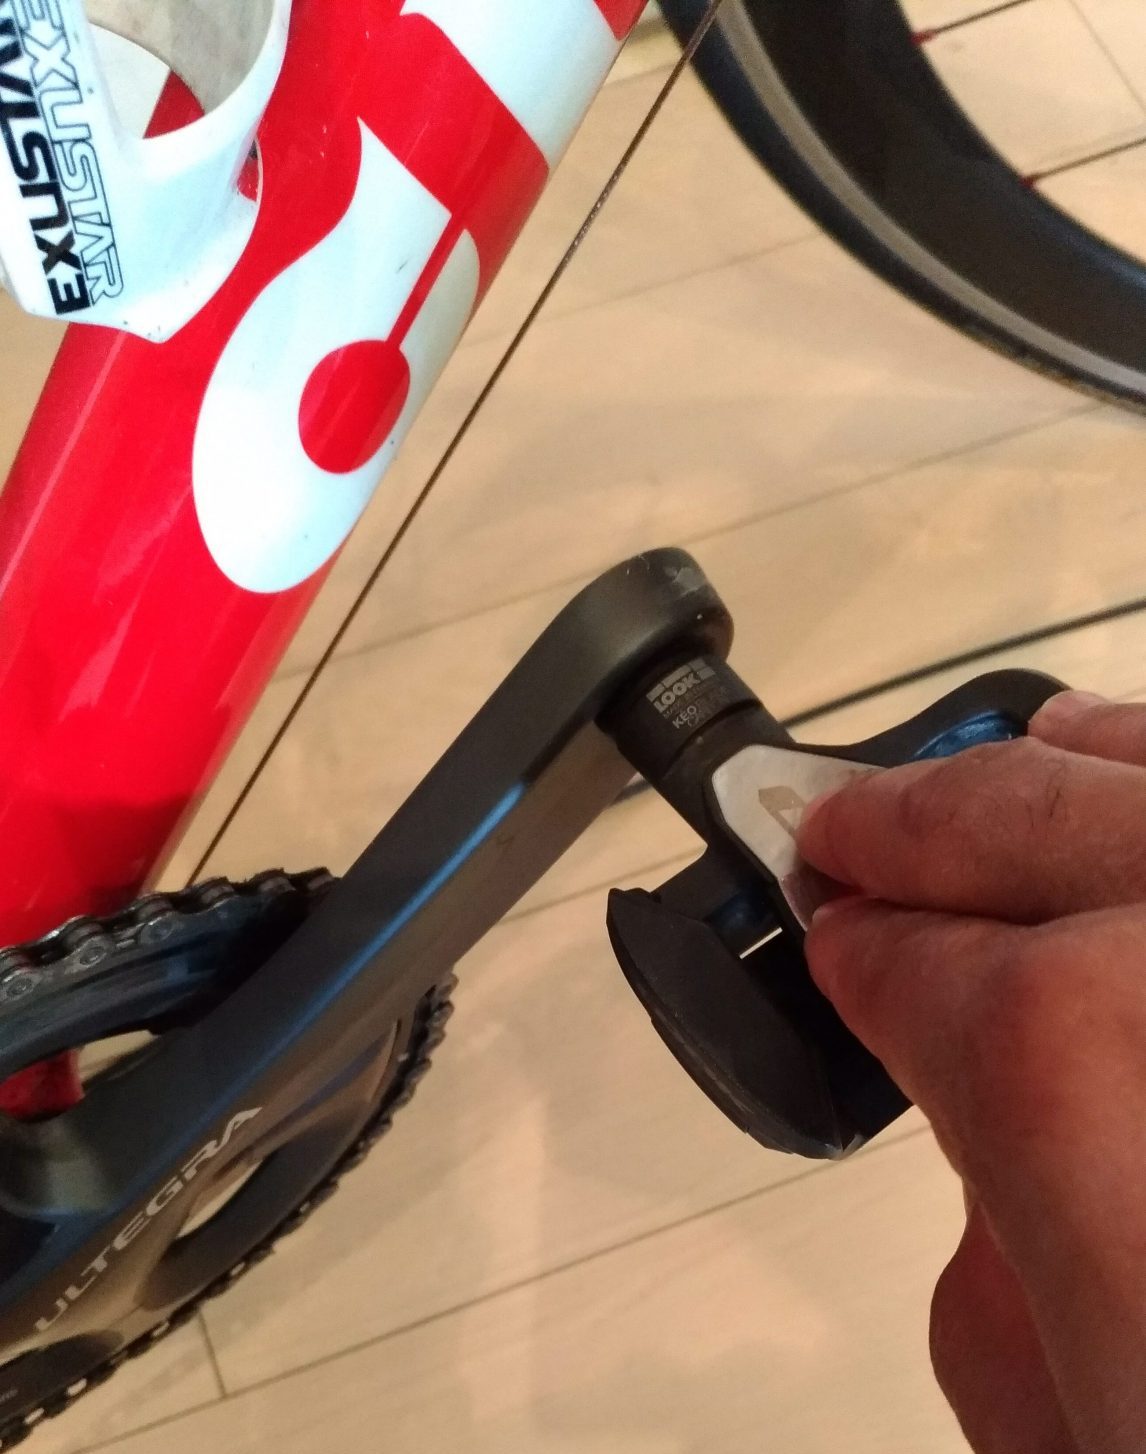
With your back wheel off of the ground, begin to peddle forward so that you can your chain is moving clockwise. As you peddle, you will notice that your chain moves to the smallest ring on your rear cassette.
No matter what gear your chain sits upon before you start peddling, the chain should move to the smallest ring.
If you were not able to position the chain on the smallest ring before disconnecting the cable from the cable anchor bolt, your chain will now drop down to the smallest ring as you peddle forward.
Now, it’s time to adjust the upper most limit of how far your chain will move on the rear cassette.
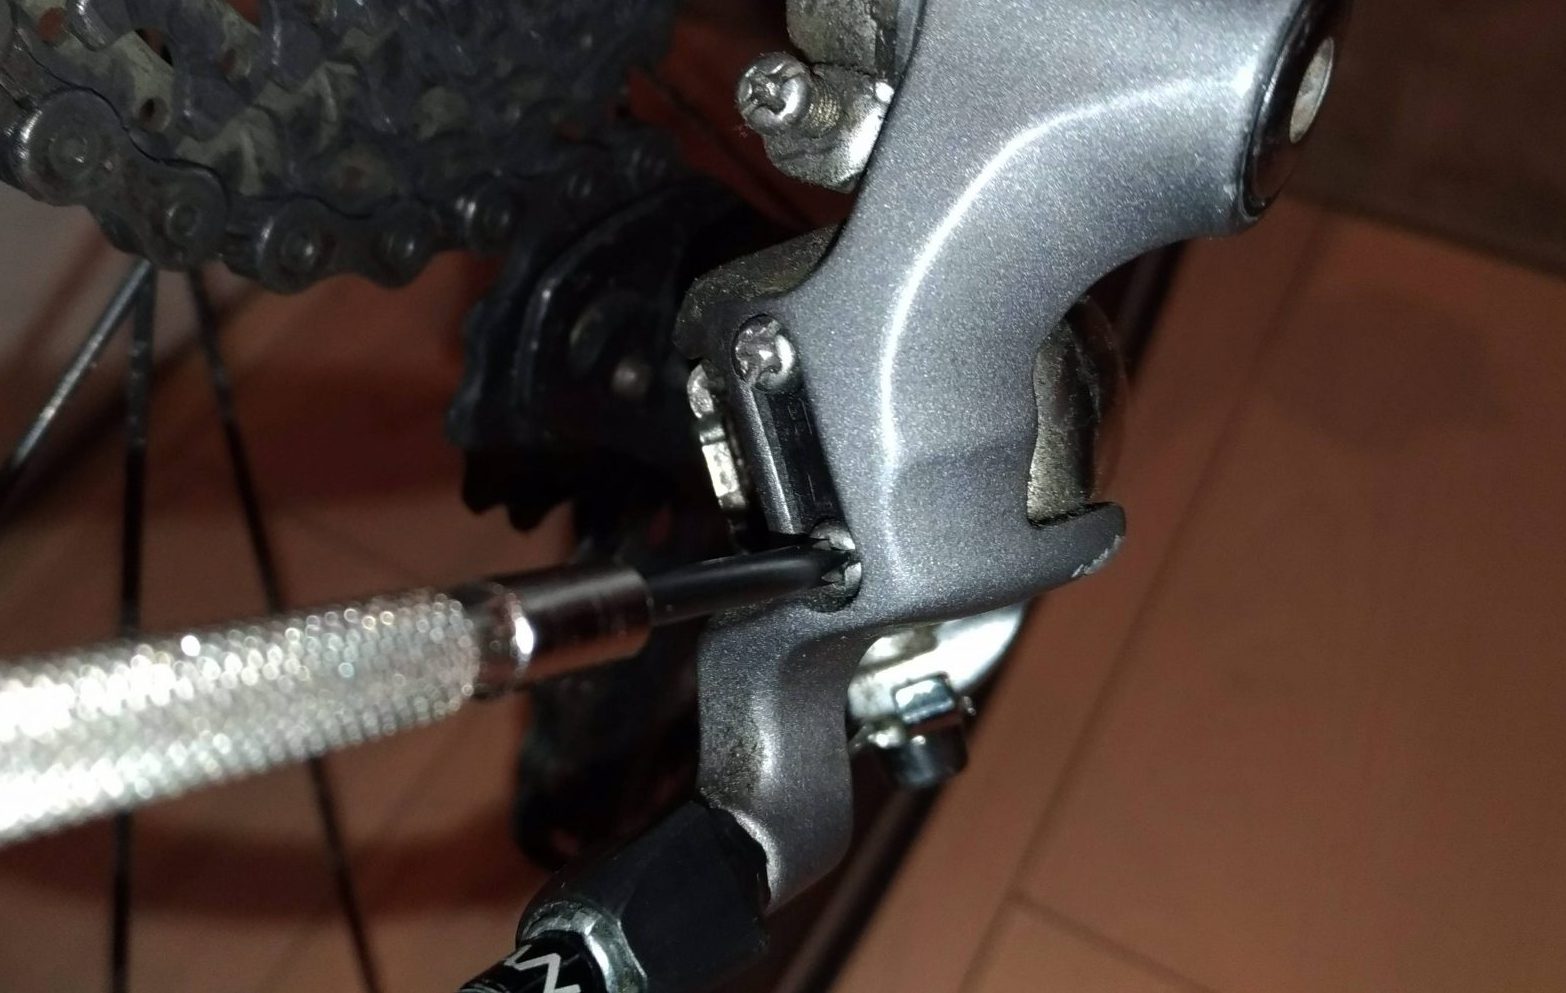
Adjust the Upper Limit Screw of the Rear Derailleur
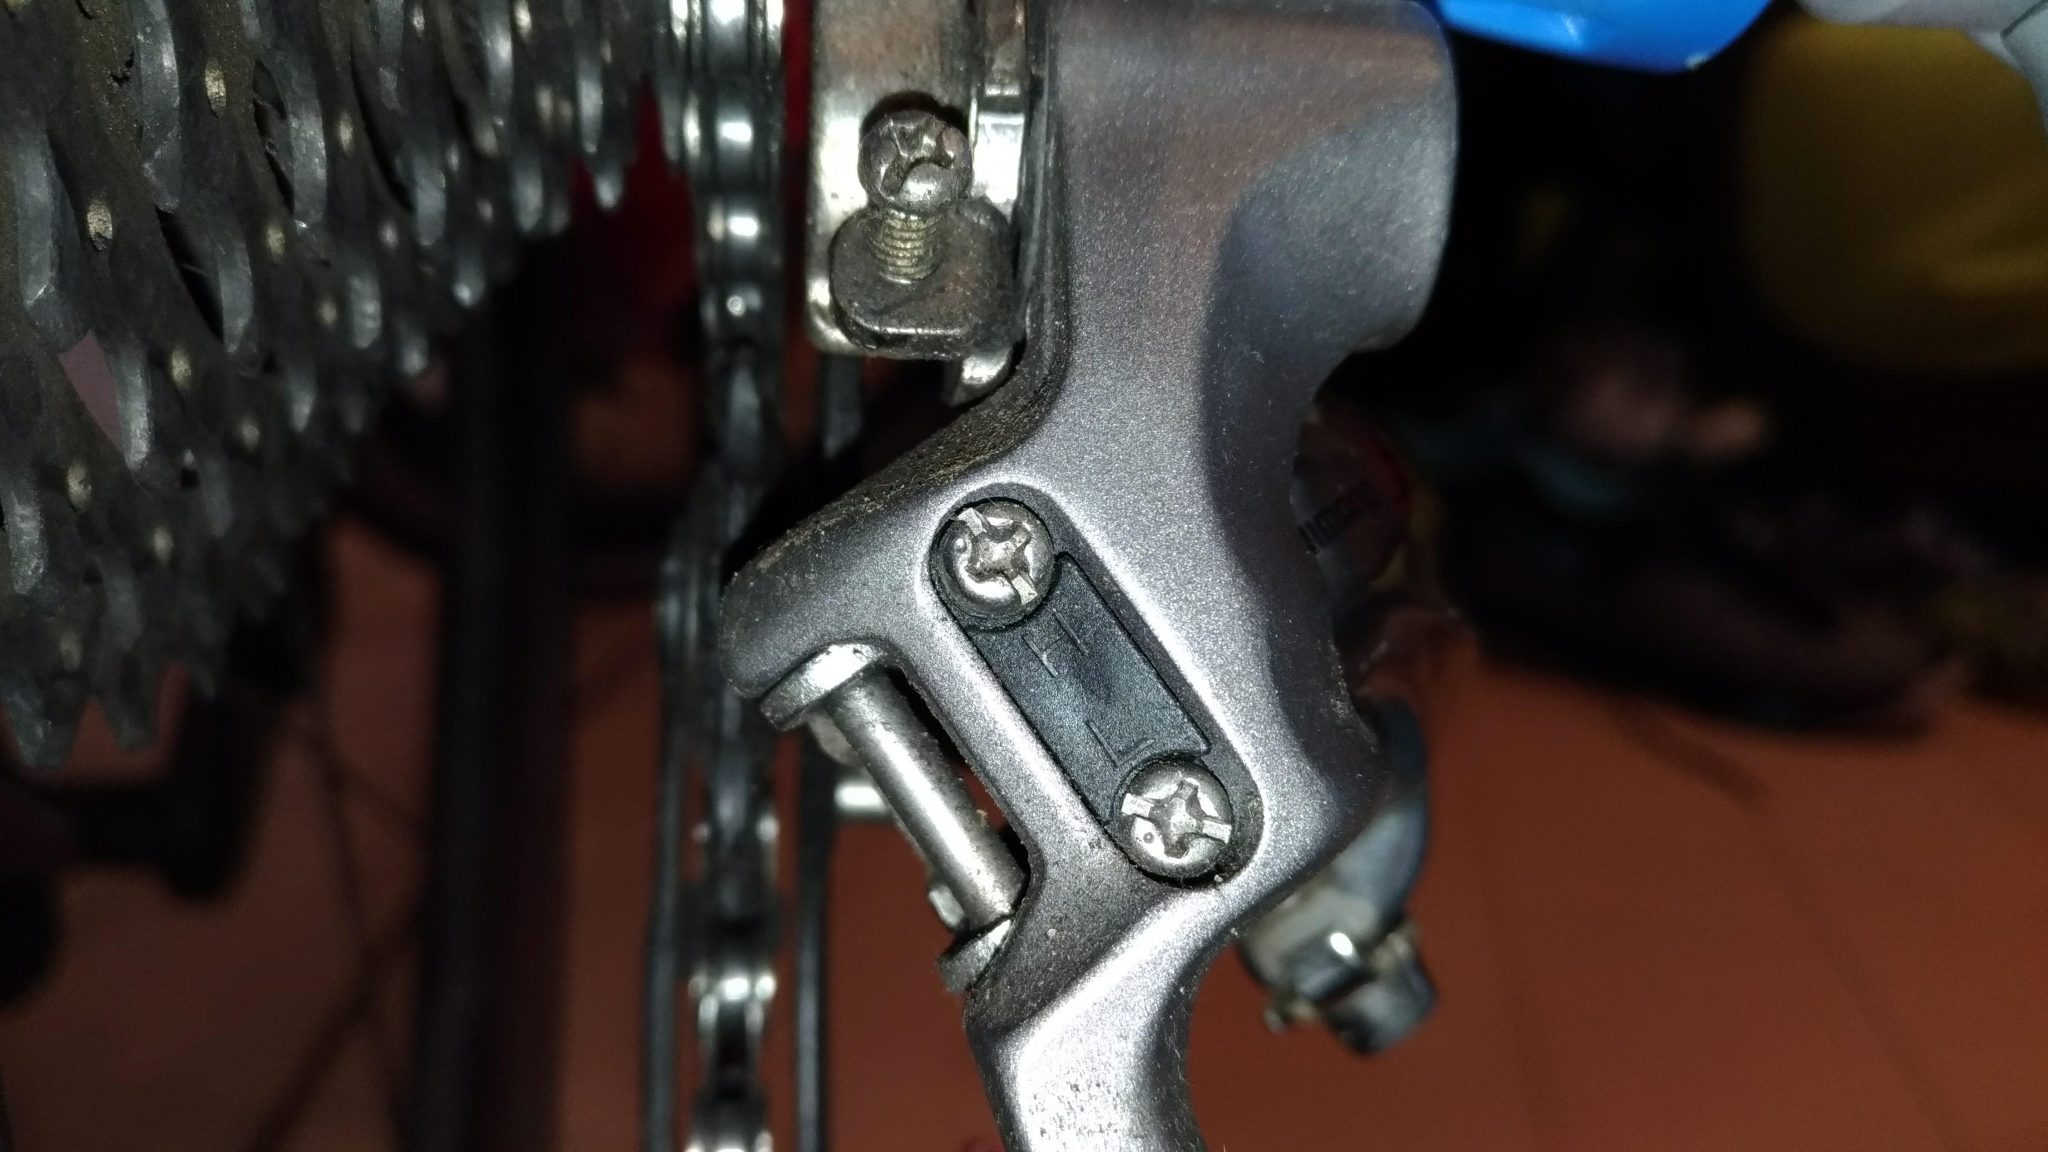
The upper limit screw ( marked ‘H’ ) is positioned below the B-tension screw and just above the lower limit screw ( marked ‘L’ ).
The goal in this adjustment is to set the limit that the chain can move at the Highest ‘H’ gear/ smallest ring. The jockey wheel that hangs at the bottom of derailleur is used to position the chain precisely.
With a phillips screwdriver you will turn the screw clockwise to move the jockey wheel towards the frame. You will turn the screw counter-clockwise to move the jockey wheel towards the bike wheel. Position the jockey wheel below the lowest gear so that the chain moves quietly while peddling.
After you have positioned the jockey wheel precisely underneath the the lowest gear, you want to make sure the jockey wheel will not push the chain off the last ring. We will test this by reconnecting the gear cable.
Reconnect the Gear Cable
First, be sure that your rear gear shifter on your handlebars are clicked to the lowest gear. I made the mistake of not doing this. Because my shifter was clicked to a higher gear on the cassette, the gear cable was way too short to reconnect properly.
So again, make sure you have the rear gear shifter set to the lowest gear so that it clicks down until it can’t go any lower.
Now, you can simply pull the cable reasonably tight with your hands or grips. Place the the gear cable between the cable anchor bolt and the washer that is attached to the derailleur.
Tighten the bolt with your Allen key or screwdriver. Turn the Allen key or screwdriver counter-clockwise if it is inverted from your view. Turn it clockwise if you are facing the head of the bold.
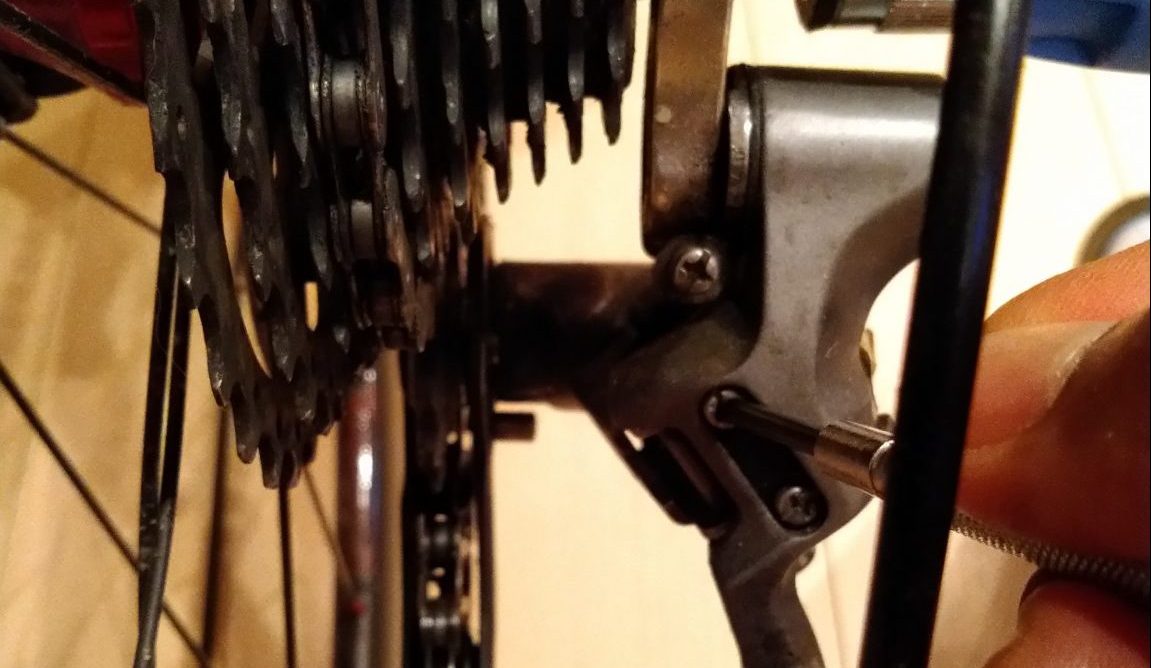
Adjust the Cable Tension
Now it is time to fine tune the cable tension by adjusting the barrel adjuster. The barrel adjuster is located furthest back on the rear derailleur. It is a knob that can be turned with your fingers.
Turn the barrel adjuster counter-clockwise to move the derailleur closer to your rear bike wheel. Turn the barrel adjuster clockwise if you want to move the derailleur closer to the bike frame.

TEST THE CABLE TENSION
Begin by peddling forward. As you peddle forward with one hand, use the other hand to shift the rear gears with the rear shifter on your handle bars.
If the chain delays sifting up to the next gear, stop the rotation of the wheel. Turn the barrel adjuster counter -clockwise to tighten the cable tension.
On the other hand, if while peddling and shifting the gears up the chain skips a gear and jumps up 2 gears instead of 1 gear, then stop the wheel from turning. Turn the barrel adjuster clockwise to loosen the cable tension.
After the gears are shifting quickly and smoothly from one gear to the next, be sure to listen. Listen for the quietest possible shifting and chain movement. Make slight adjustments to the barrel adjuster to get it as quiet as possible.
Great! Now that things are moving smoothly and quietly, lets adjust our lower “L” limit of the rear derailleur.
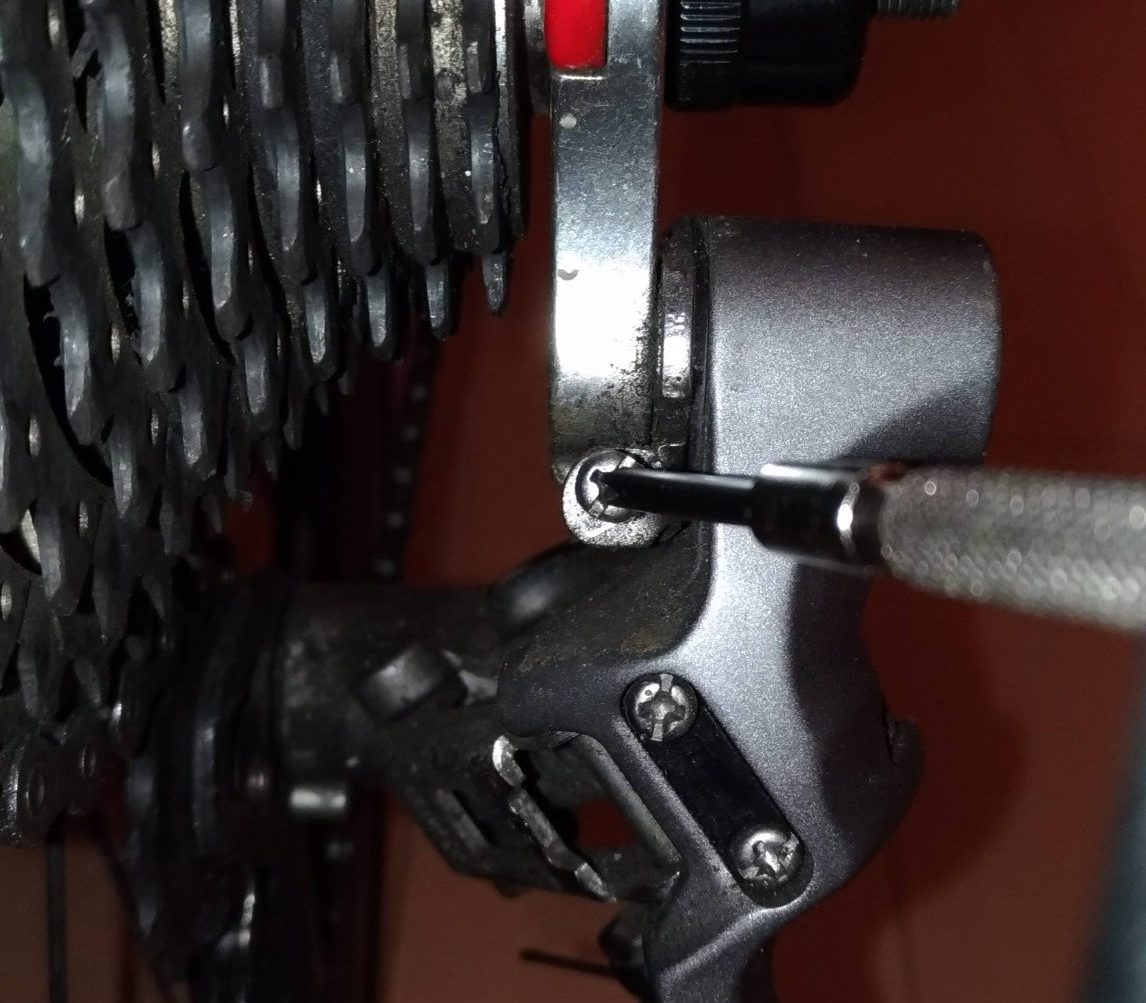
Adjust the “L” Limit Screw
The purpose of setting our lower “L” limit screw is so that we can be sure the chain doesn’t go past the lowest gear. This will keep the ring from falling between the biggest ring on the rear cassette and our wheel frame.
This will also make sure the rear derailleur pushes the chain all the way up to the biggest ring smoothly. The goal is to get the jockey wheel positioned directly below the largest ring.
Begin by shifting to the largest ring. Now, find the lower “L” limit screw. It is located just below the higher “H” limit screw that we adjusted before.
Use your phillips head screwdriver and turn the “L” screw clockwise until the jockey wheel is just below the largest ring. The rear derailleur will be as close the the wheel as it can go.
Finally, we are at our final step of the process! Adjusting the B-tension screw so that jockey wheel is positioned correctly.
Adjust the Jockey Wheel
This is one of the simplest parts of the process. Locate the B-Tension screw. It is the screw just above the “H” limit screw and the highest screw on the rear derailleur.
Use your phillips head screwdriver to adjust the height of the jockey wheel. Turn the B- Tension screw clockwise to move the jockey wheel away from the cassette. Turn the B-Tension screw counter-clockwise to move the jockey wheel closer to the cassette.

You want to remain between 2mm and 4mm. A rule of thumb is that you should be able to fit 2 US pennies between the jockey wheel and cassette.
Finished! You did it. You accomplished something that might have been daunting in to think about before. Now you are a master! Awesome job. I hope this article was useful for you. Happy riding!!!
Other articles you might enjoy reading are: